Inside a $7 Digital Caliper: Capacitive Sensing on a Copper Ruler, and a Battery Drain That Never Sleeps
DiodeGoneWild strips the plastic off a cheap caliper to show how sliding plates measure position — and why the same convenience feature keeps leaving you with a dead readout.
Source material: hackaday.com
A Carriage Full of Plates
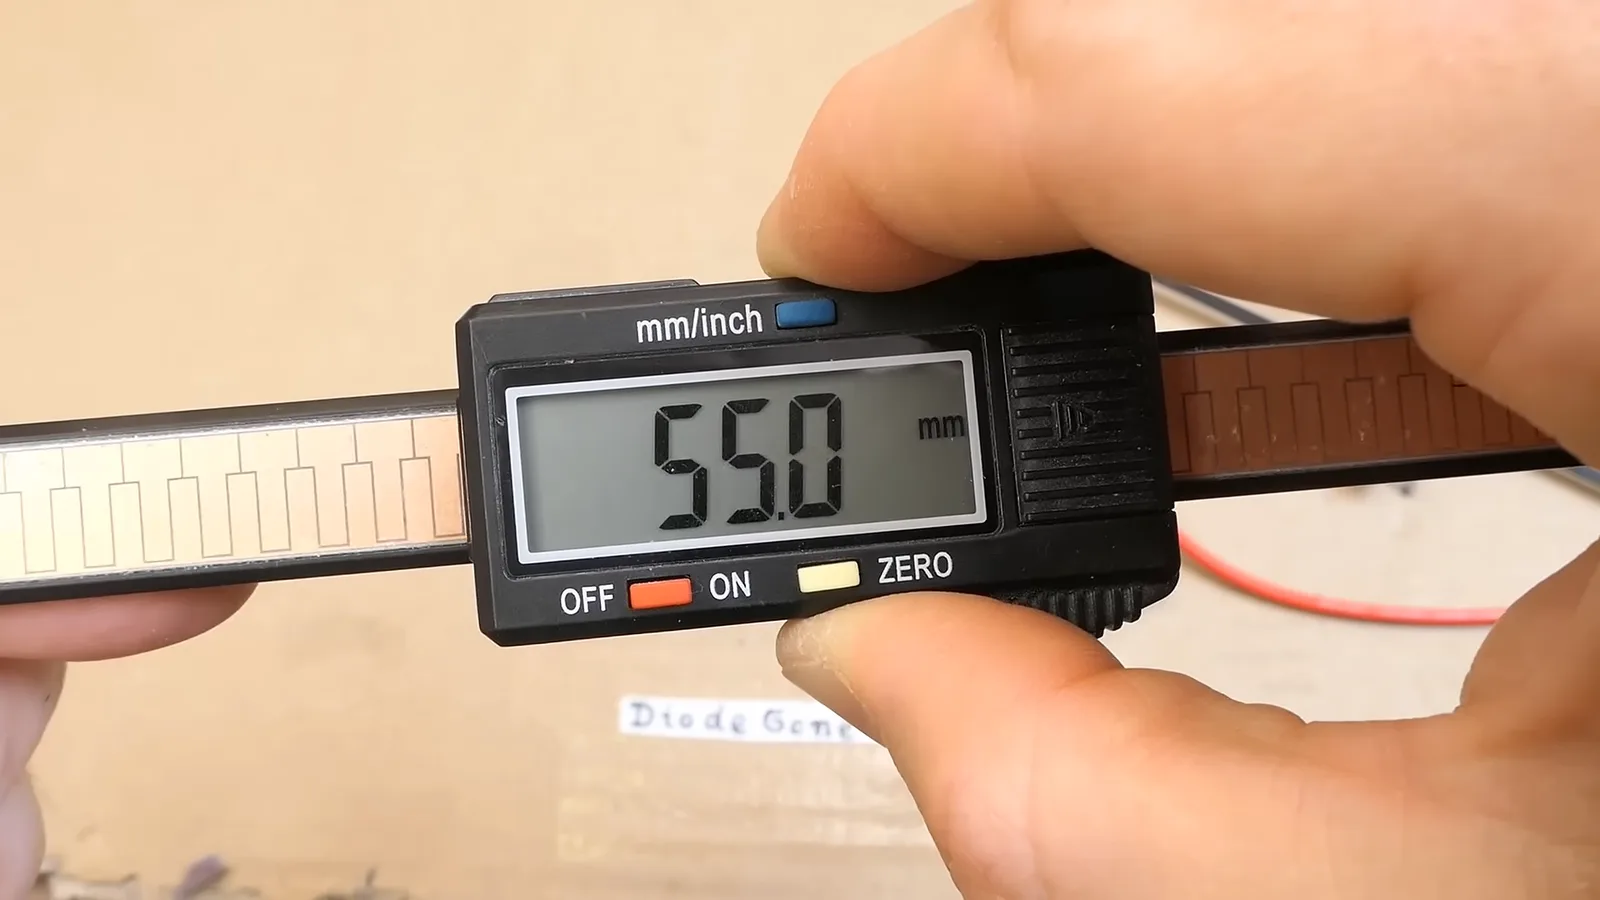
The cheapest pair of digital calipers on any workbench hides its entire brain inside the sliding carriage. When DiodeGoneWild pulled one apart, the ruler turned out to be a flat copper strip etched into repeating T-shaped segments, covered by the scale sticker. The carriage carries a small PCB lined with parallel sensing plates. As the carriage slides, each plate overlaps more or less of the copper T sections, and the capacitance between them shifts in direct proportion to distance. That changing capacitance is what the display reads as a precise relative position, down to a hundredth of a millimetre. The user's only job is to press the ZERO button at the start of a measurement, and the chip does the rest from there.
The Oscilloscope View of a Sliding Capacitor
To show the mechanism at the bare hardware level, DiodeGoneWild hooked the caliper's sensing lines up to an oscilloscope. The scope revealed the chip driving the plates with a burst of pulses, and the return signal changing amplitude as the carriage moved across the ruler's copper T shapes. Every T boundary produced a distinct step in the waveform. This is a classic capacitive divider, but implemented in a two-piece plastic sandwich you can buy for the price of a coffee. The sensing plates are not exotic — just bare copper tracks on the cheap PCB, and the ruler's etched pattern is printed on a standard flexible substrate. It's a design optimised for pennies, not for precision lab work, yet it holds tolerance well enough for most hobby measurements.
The Always-On Switch That Kills the Battery
The teardown also explains a frustration every owner knows: these calipers are dead when you reach for them. The culprit is the lack of a hard off switch. Instead, the caliper wakes whenever any movement is detected by the same capacitive plates that measure position — a motion-triggered power-on that's convenient on the bench but disastrous in storage. There is no manual shutdown path, so the caliper is always drawing some juice even when it's just in the cupboard. Over weeks in a drawer, that constant trickle drains the battery, leaving a perfectly good tool with a lightless screen. The tradeoff is deliberate: the maker saves the cost of a physical switch and the user gains one less button to press, but the battery dies quietly in storage.
Plastic Bodies and the Cost of Precision
The outer casing is moulded ABS with a few screws and a snap-fit seam, and the scale sticker is the only thing you see on the ruler. Below it sits the etched copper strip, which is the real measuring element. The carriage's PCB is a single-sided board with the sensing plates on the top and the display and button on the other side. DiodeGoneWild notes that the whole unit relies on the plastic body keeping the plates at a consistent distance from the ruler's copper — any flex, and the capacitance drifts, which is why cheap calipers lose their zero earlier than a forged steel set. Yet the unit he took apart held a steady reading across repeated slides, even with the plastic creaking in his hands. The precision comes from the geometry of the etched pattern, not from the materials around it.
The Capacitive Core of a Cheap Caliper
Inside the plastic shell, the carriage holds all the electronics. The ruler hides a copper strip etched with repetitive T-shaped sections, forming a capacitive encoder. The carriage's PCB has a series of plates for capacitive sensing. Sliding the carriage changes the overlap between those plates and the copper T-sections, altering capacitance in proportion to distance. The electronics convert that into a reading, and the ZERO button lets you reset the reference. [DiodeGoneWild] even broke out an oscilloscope to show the capacitance changes in action.
Where this came from. This breakdown is based on source material published at hackaday.com. Images above are used with the credits shown beneath each one.